What’s the Difference Between Lightroom Presets and Profiles?
Presets
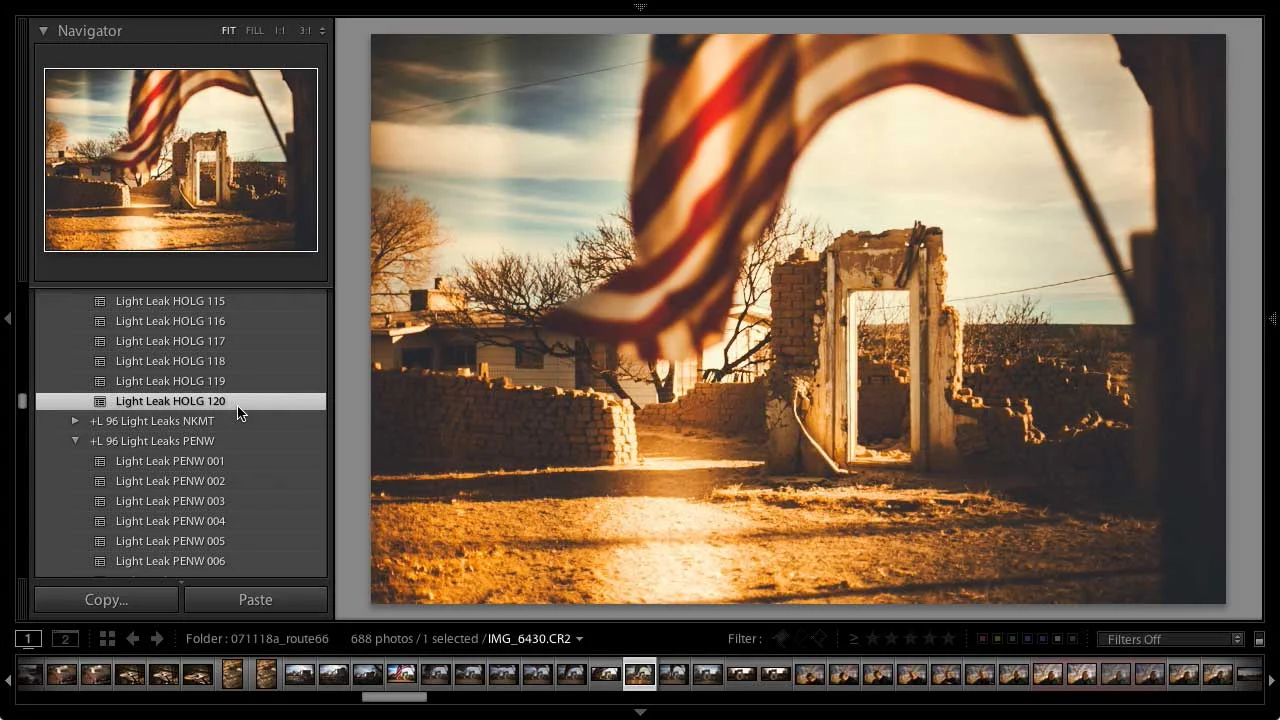
Lightroom Develop Presets are one-click shortcuts to applying Develop/Edit settings. A preset might be as simple as setting exposure, or as complicated as adding a complete look to a photo, or even local adjustments, which can create cool effects like the Prolost Light Leaks.
After you apply a Preset, you can see and adjust the changes in the Develop/Edit controls.
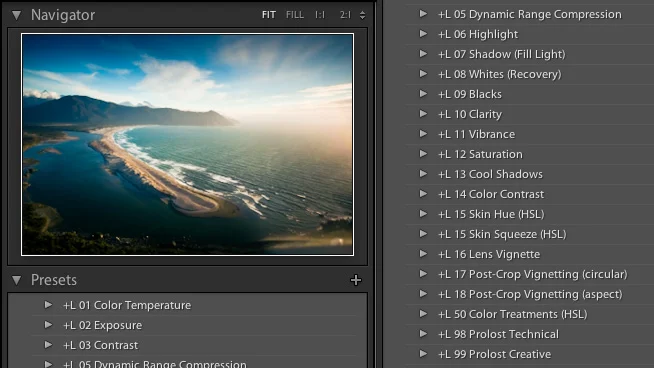
The Prolost Graduated Presets are special presets arranged in graduated groupings, allowing you a nice visual way to perform common image editing tasks.
Most Prolost presets support Lightroom 4 and up, although some require more recent versions.


Profiles
Lightroom Profiles typically apply an overall look to the photo. They leave all the Develop/Edit controls unchanged, so you are free to adjust them to taste. Unlike Presets, Profiles can create looks that are not possible with the Lightroom controls on their own. One way to think of Lightroom Profiles is as “virtual film stocks.”
Lightroom has long supported “Camera Profiles,” but they were not very visible, and used mostly to match camera JPEG output. With Lightroom Classic version 7.3, and Lightroom CC version 1.3, Profiles got a nice visual browsing system, and a differentiation between Camera Profiles and “Creative Profiles,” such as the Prolost Profiles, which make your photos look great regardless of originating camera.
Many Creative Profiles support an Amount slider, allowing you to choose how much of the Profile’s visual adjustment to apply to your photo.